
Installing a dedicated Level 2 electric vehicle (EV) charger at your Melbourne home makes everyday charging convenient, predictable, and significantly faster than plugging into a standard portable 10A granny charger.
However, every residential property in Melbourne has a unique layout, incoming electrical supply, and cable run. When requesting an EV charger installation quote, preparing a few key pieces of information upfront helps an electrician understand your setup, provide an accurate and transparent quote, and avoid unexpected variations on installation day.
This practical preparation checklist explains what details to gather, which photos to take safely, and what remains subject to on-site licensed electrical assessment.
1. Where Does Your Vehicle Normally Park?
The first practical detail is your typical parking arrangement:
- Enclosed Garage: Usually the most straightforward setup, offering protection from the weather and simple surface or cavity conduit runs.
- Carport or Open Driveway: Requires a weather-rated charger enclosure (minimum IP54 or IP65 rating) and UV-stabilised external conduits.
- Shared Driveway or Apartment Car Bay: Requires checking property boundaries, common property wiring routes, and body corporate/owners corporation approvals.
What to note: Let the electrician know whether you park front-in or reverse-in, and which side of your vehicle has the charging port. Standard charging tethered cables are typically 5 to 7.5 metres long, so positioning the unit near your charging port makes daily plugging in effortless without stretching cables across walkways.
2. Charger Hardware: Customer-Supplied vs Electrician-Supplied
There are two common paths for purchasing and installing an EV charger:
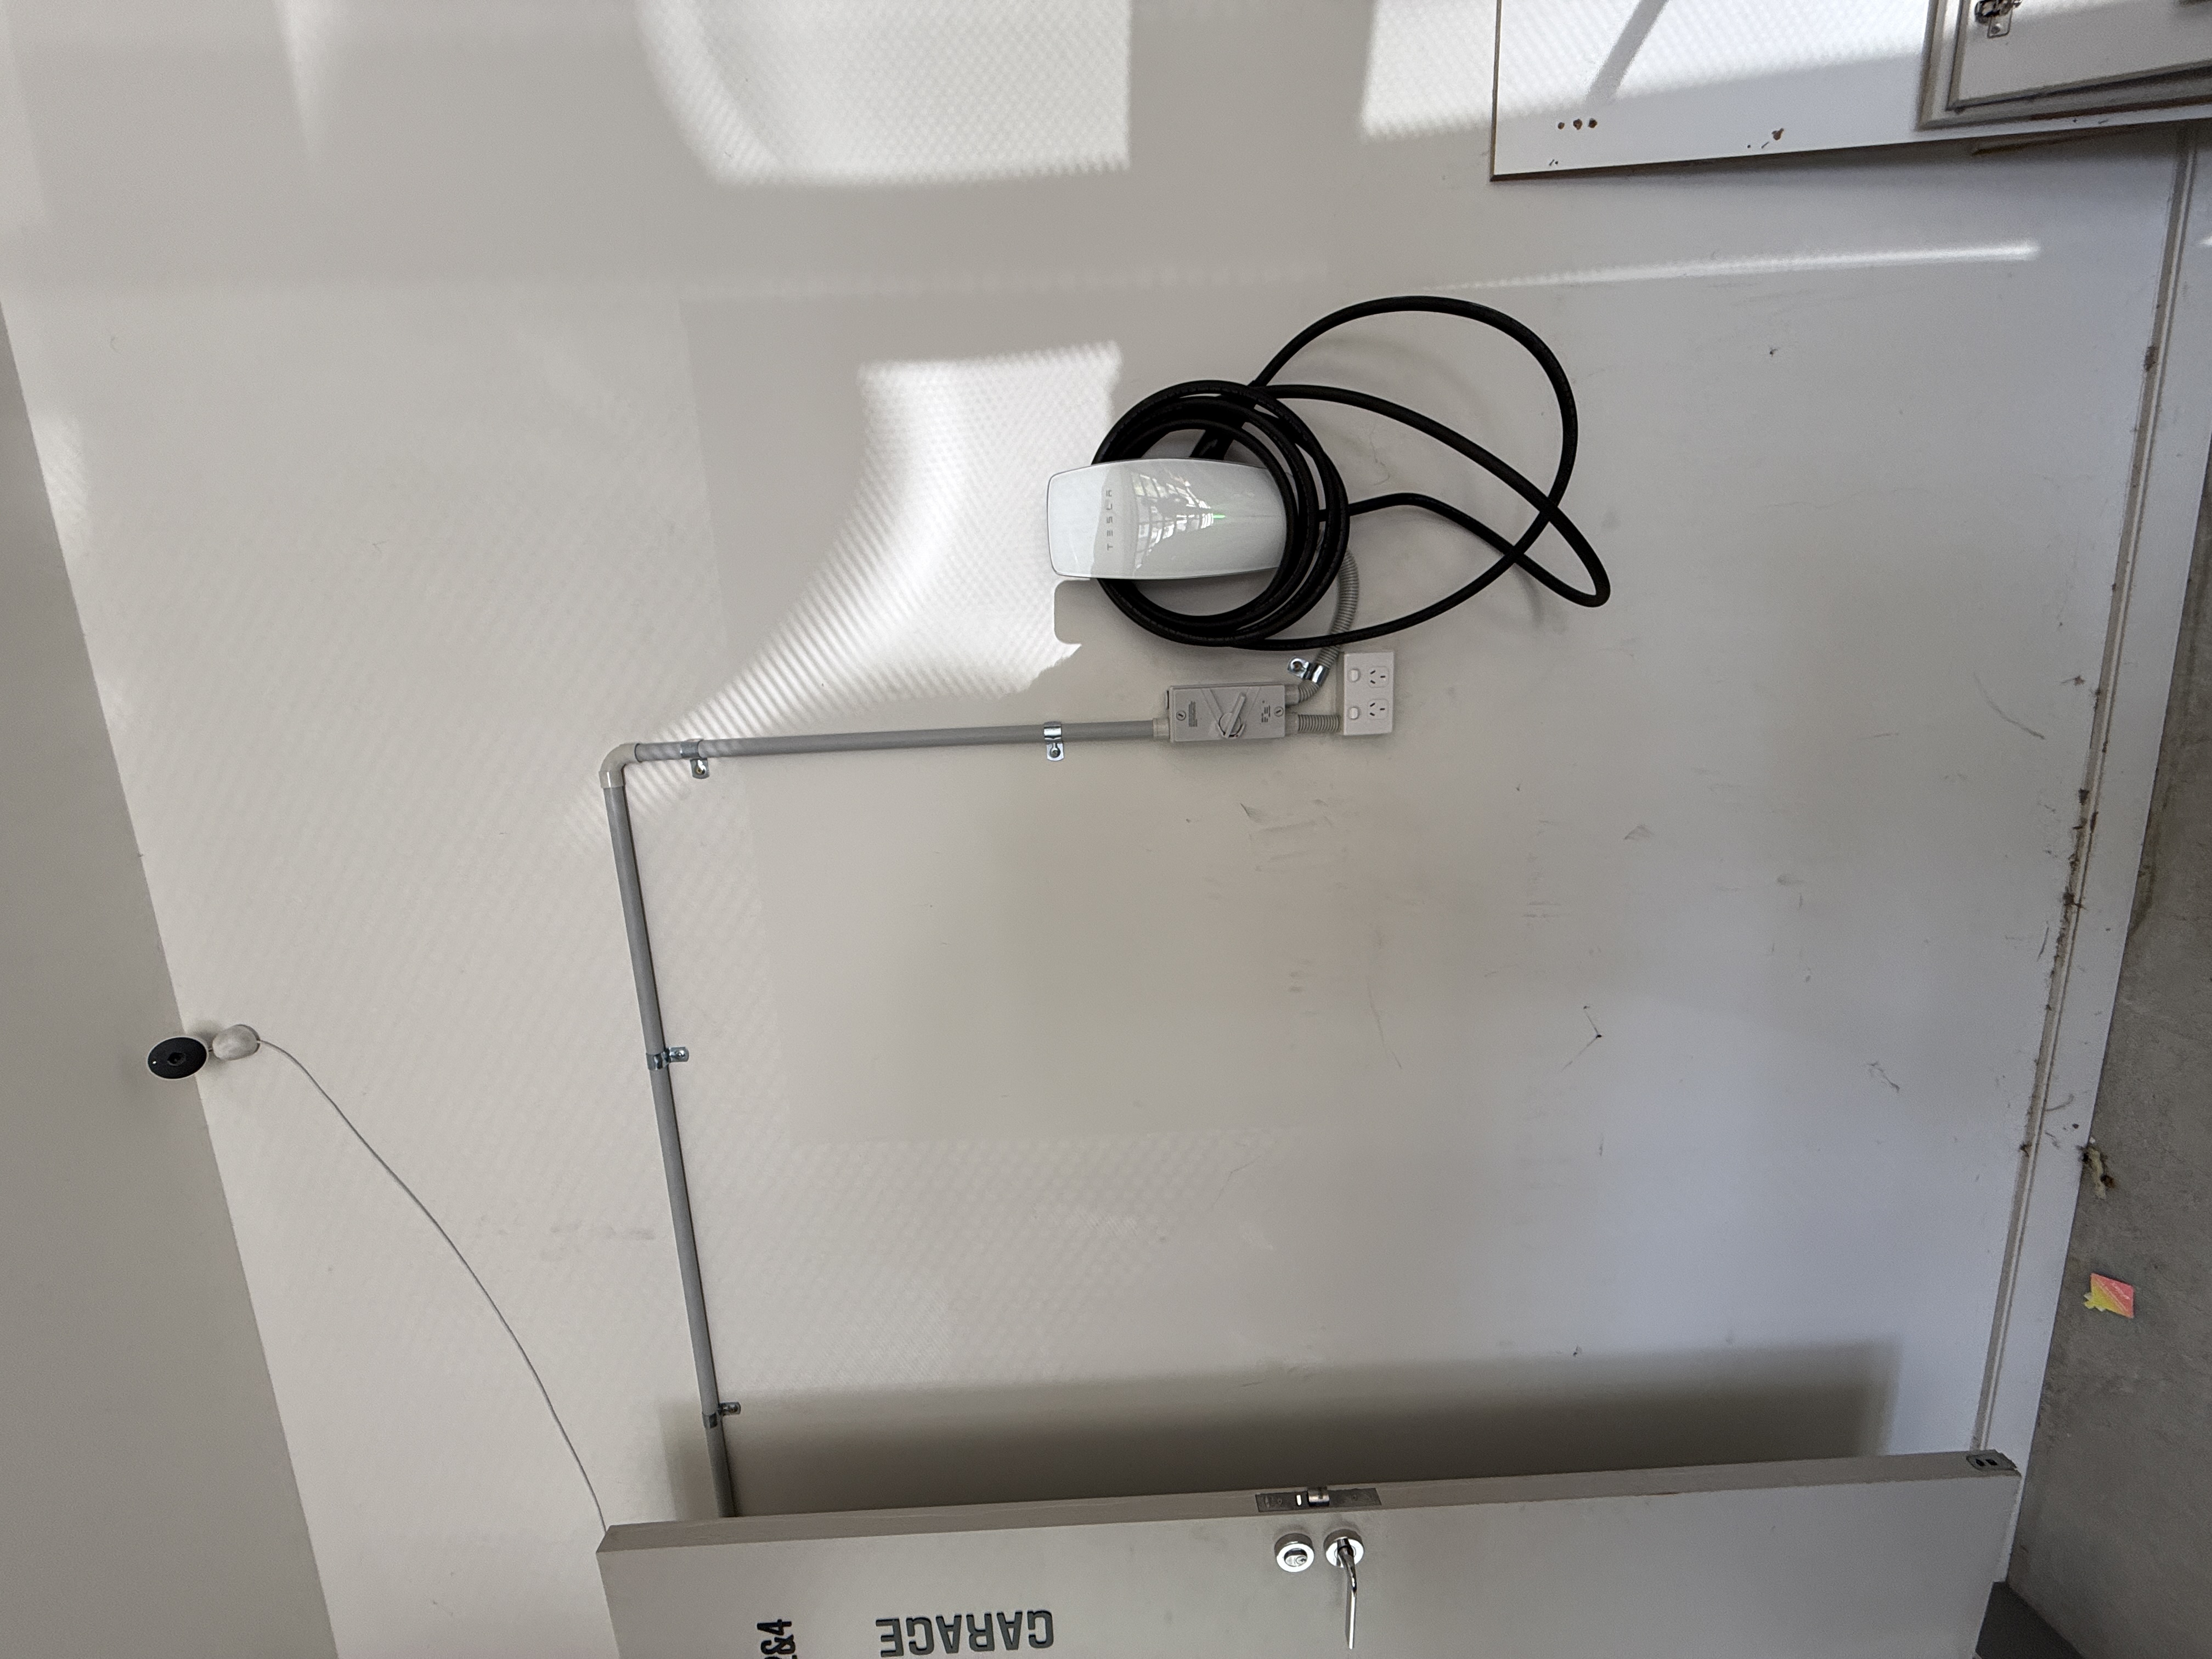
- You supply the charger: You may have already purchased a dedicated home wallbox—such as a Tesla Wall Connector, BYD charger, Ocular LTE, Wallbox Pulsar Plus, or Zappi.
- You ask LDS to supply the charger: We can recommend and supply a compliant, reliable Level 2 charger suited to your vehicle and home power capacity as an itemised line item.
What to note: When requesting a quote, clearly state whether you already have the charger or want hardware included in the quote. If you already have one, mention the brand and model number so we can check its specifications, current draw (e.g. 32A single-phase or three-phase), and mounting bracket requirements.
3. Switchboard Location & Approximate Distance
Your home EV charger runs on a high-powered, dedicated electrical sub-circuit directly from your main switchboard. Understanding the distance between your switchboard and parking space is key:
- Where is your switchboard? Common locations in Melbourne homes include the front external brick wall, side pathway, garage interior, or hallway.
- Approximate distance: Give a rough estimate in metres (e.g., "around 10 to 15 metres along the exterior wall" or "switchboard is on the opposite side of the house").
- Physical obstacles: Note whether the cable path must cross finished plaster ceilings, concrete driveways, or garden beds.
Important Note: You do not need to engineer or design the cable route yourself. Our licensed electricians will determine the safest, cleanest, and most compliant cable path (underfloor, through ceiling cavities, or inside protective conduit) in accordance with AS/NZS 3000 wiring rules.
4. Safe Photos Checklist: What to Send (And Safety Warnings)
Clear photos can save time and allow us to assess your home's setup before arriving on site. However, personal electrical safety always comes first.
Safe Photos You Can Take:
- The Proposed Mounting Wall: A clear shot of the wall, post, or area where you would like the charger installed, including the surrounding floor space.
- The Parking Area: A wider photo showing where the car parks in relation to the proposed wall.
- The Switchboard (Exterior & Open Outer Door): Stand at a safe distance and take a well-lit photo of the switchboard with the external hinged weather door open, showing the circuit breakers and labels.
Strict Safety Rules:
Safety Warning:
DO NOT attempt to unscrew or remove the protective internal cover panel (escutcheon / deadfront).
DO NOT touch any circuit breakers, cables, or terminals inside the panel.
DO NOT insert cameras, phones, or fingers into electrical enclosures.
Switchboards carry live 230V or 400V electrical currents. All internal inspections and measurements must only be performed by a licensed electrician.
5. Apartment & Body Corporate Permissions (Strata Properties)
If you live in an apartment, unit complex, or townhouse governed by an Owners Corporation (Body Corporate):
- Private vs Common Property: In many strata buildings, the car bay is private property, but the walls, ceilings, and electrical risers are common property.
- Supply Source: Determine whether your car bay can be powered from your apartment's private meter or must connect to common property sub-boards with an approved sub-meter.
- Permission Process: Most Owners Corporations require an application outlining the equipment specifications, cable route, licensed contractor details (REC number), and insurance before granting approval.
Mentioning strata arrangements when requesting a quote allows us to provide the technical documentation your committee needs for prompt approval.
6. What Requires an On-Site Licensed Electrician Assessment?
While photos and preliminary details provide a strong starting point, several crucial safety factors must be assessed by a licensed electrician (REC 36349):
- Maximum Demand Calculation: Ensuring your total household electrical load (including air conditioning, induction cooktops, and hot water) does not overload the main service fuse when charging at 32A (7.4 kW single-phase).
- Single-Phase vs Three-Phase Power: Checking whether your home has a single-phase (up to 7.4 kW charging) or three-phase supply (up to 22 kW charging capability).
- Dedicated Type A RCD Protection: AS/NZS 3000 and EV charging standards require a dedicated Type A or Type B residual current device (RCD) to protect against DC fault currents.
- Switchboard Capacity: Assessing whether there is sufficient physical space and electrical capacity on your board, or whether a switchboard upgrade or sub-board is necessary.
7. What Happens Next?
Once you share your parking setup, charger preference, and photos:
- Initial Review: We review your photos and details to assess feasibility and prepare a transparent, itemised quote.
- Site Assessment & Final Scope: We confirm cable routes, switchboard capacity, and any site-specific requirements.
- Professional Installation: Our licensed Melbourne electricians complete the dedicated cabling, isolator switch, RCD safety switch, and charger mounting.
- Testing & Certification: We carry out full electrical safety and commissioning tests, followed by an official Victorian Certificate of Electrical Safety (COES).
To discuss your setup or request a detailed written quote, explore our EV charger installation service in Melbourne, or contact our local team on 0411 232 330 / Ldsairelectrical@gmail.com.